Loading...
Loading...
Loading...
Loading...
Loading...
Loading...
Loading...
Loading...
The Bypass POS feature allows you to turn off synchronization between your online ordering service and your existing POS system. If there is no synchronization, you will receive online orders via email.
Select the Bypass POS configuration from the drop-down menu for quick configurations.
Activate the Bypass POS by choosing Yes from the drop-down menu.
Add the email address through which orders will be received. You can put more than one email address.
Click Save to activate the configuration.
Emergency closure prevents customers from ordering through your online ordering interface without disabling ordering. Your menu also remains accessible for consultation by users.
Select the Emergency closure configuration from the drop-down menu for quick configurations.
Activate emergency closure by choosing Yes from the drop-down menu.
If necessary, add a message to inform your customers of the reasons for the closure.
Click Save to activate the configuration.
In the event of high traffic or lack of personnel, you can adapt the minimum preparation times for your products in order to inform customers of the order receipt time. The Quick Config page allows you to change these settings without having to access the configuration page for each type of control.
Select the Change Prep Times setup from the Quick Config drop-down menu.
For each type of order, enter the minimum preparation time during which you do not wish to receive an order (in minutes).
Click Save to activate the configuration.
The quick config page allows you to change the availability times for the order types on your online ordering platform. For example, on-site orders can end at 8:00 p.m. while delivery orders end at 11:00 p.m. The Quick Config page allows you to change these settings without having to access the configuration page for each type of control.
Select the Change opening hours configuration from the drop-down menu in the quick configs.
For each type of order, add if necessary a time slot for one day by clicking on the + button. You can add more than one time slot for the same day.
Select the hours of operation from the drop-down menus.
Click on Save to finalize the configuration.
If your inventory is out of stock, you can use the Quick config page to prevent your products and variations from being ordered. This out of stock may or may not have a fixed period, depending on your needs. The Quick config page allows you to change these settings without having to access each product's setup page.
Select the Snooze product configuration from the drop-down menu for Quick configs.
Use the Product field to search and find the desired product or variant.
Select the start and end dates for the out of stock.
Select a timer that will count down before activating the Out of Stock feature for the selected product or variant.
Click Save to add this product to your backorder list.
Remove a product from the list of out-of-stock products by clicking the X button for that product.
Access your branch emergency configurations directly.
Quick config
Emergency closure
Bypass POS
Preparation time
Opening hours
Snooze product
The Quick Config page gives you access to useful basic setups for managing the branch of your choice. These configurations are mainly used to resolve urgent problems related to the online ordering interface.
The Quick Config page is accessible via the navigation bar in the management page of the desired branch. On the quick setup page, select the desired setup from the drop-down menu.
Users are people who can access your company's online order management interface. You can create and modify them via this page. In addition, you can also choose and assign certain permissions regarding the possible actions of these users.
Go to the "Users" tab on the left in the navigation menu
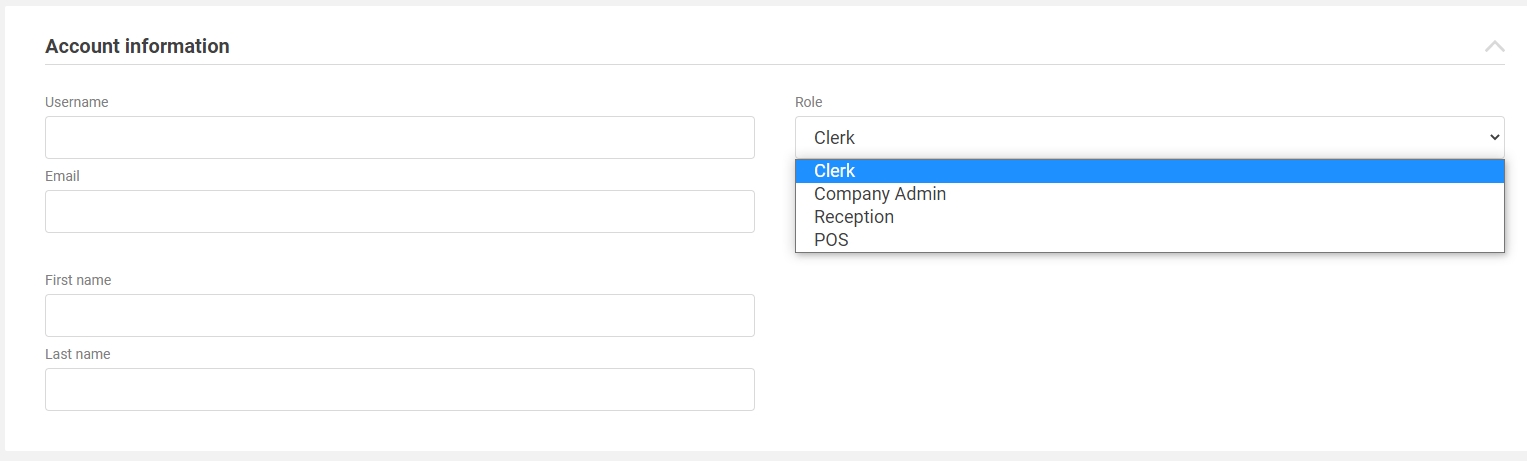
Create a user with the desired authorization level: Employees (Quick configuration: ON), Compagny Admin (Full navigation menu), Reception (Quick configuration: OFF), POS (external POS from the IshopFood backend, this mode is very specific .)
Enter the requested information, include a password and the user's role. Note that the chosen role affects the permissions available to the created user.
Once the fields are filled in, click on Save to create your new user.
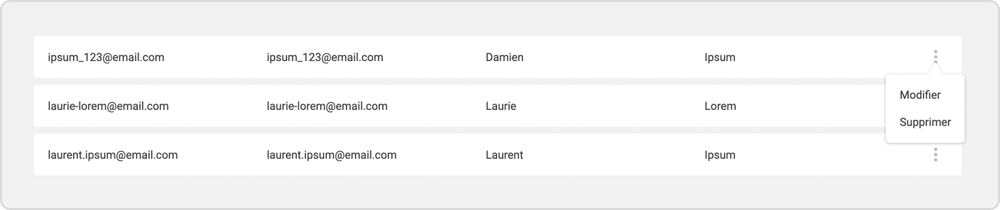
In the user management page, click on the edit icon of the desired user.
Choose the desired action.
Once the changes are made, click on Save to return to the user management page.
Each user role has specific configuration permissions. Changing permissions affects all users of the selected role.
To reach the permissions configuration page, choose a branch, then in the navigation bar, click Permissions on the Configurations tab.
Choose a role to edit, then select the permissions enabled for that role.
Click Save when your changes are complete.