Point of Sale Control Setup
Point of Sale Control Setup
There are 3 elements to configure within the Point of Sale Control Module:
Edit Employee Configurations
Edit Employee File
Create a screen Layout button
Edit employee configuration(s) used by bartenders:
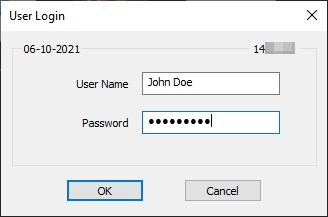
Logon to the Maitre’D Back-Office with appropriate credentials. (Distributor or System Owner)

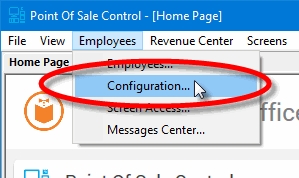
Start the Point of Sale Control module.
Click on the Employees menu and select Configuration...
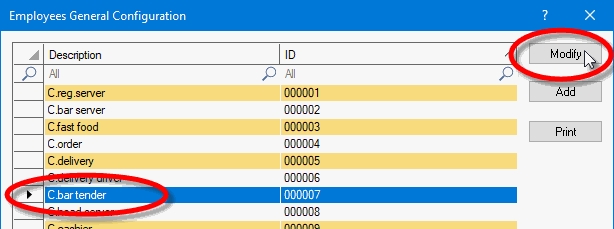
The Employees General Configuration list will be displayed. Select the configuration that will be used by bartenders and click the Modify button.
Under the Invoice branch, select the Payment sub-branch. Then, in the Payment section, enable the Bar tab pre-auth option.
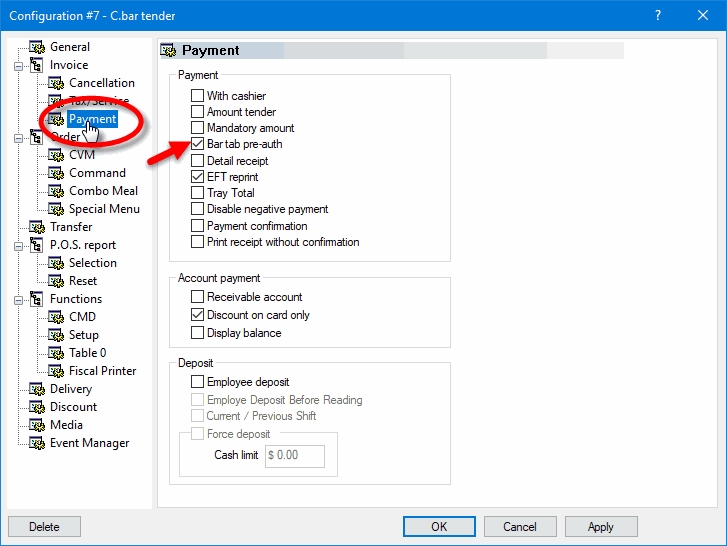
Bar Tab Pre-Auth
Enable this option to allow the employee to open a bar tab using a credit card and request a pre-authorization to cover a running tab.
Click Apply and then OK to save changes and close the options screen.
Close the Employees General Configuration list, but do not close the Point of Sale module yet.
Edit Employee Files
Repeat the steps below for every employee who will need to open bar tabs:
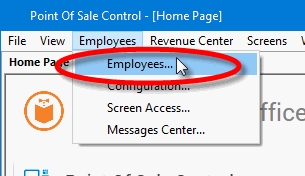
Click on the Employees menu and select Employees...
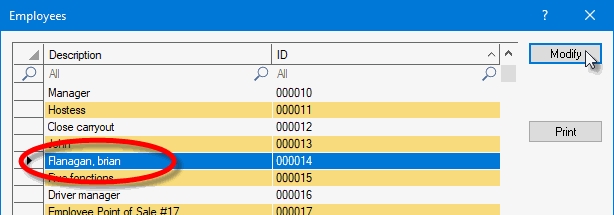
The list of employees will be displayed. Select an employee using the Bartender function and click the Modify button.
Under the POS Operation branch, click the Option sub-branch. Enable the Modify Check Amount option.
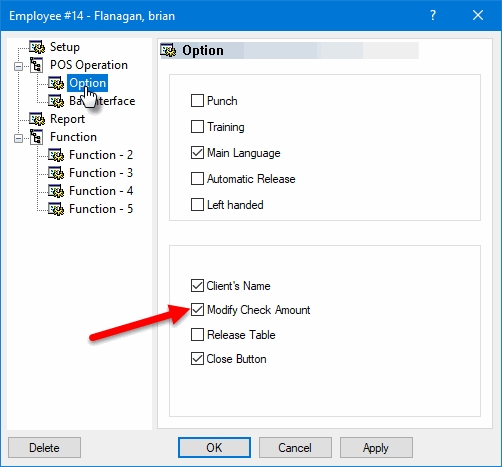
Modify Check Amount
Enable this option to allow the employee to apply a "Pre-auth Capture" to a check closed by a credit card authorization transaction. This is necessary to close the check to an amount that is different from the pre-authorized amount, and also to add tips to the charged amount.
Click Apply and then OK to save changes and close the options screen.
Close the Employees list, but do not close the Point of Sale module yet.
Create a Screen Layout Button for Bar Tabs
A button needs to be added to the bartender's screen layout, which will allow employees to easily open bar tabs.
Click on the Screens menu and select Screens Layout Setup...
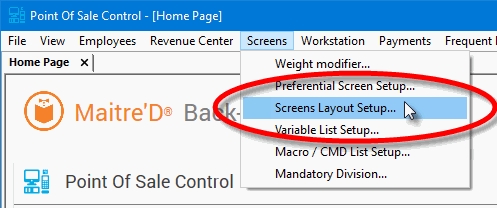
The list of available screen layouts will be displayed. Select the layout that will be used by bartenders and click the Modify button.
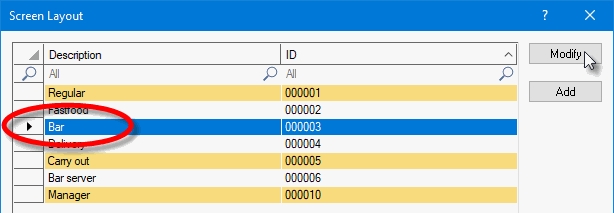
The selected layout will be displayed. Locate an appropriate spot for the bar tab button, select it and click Modify.
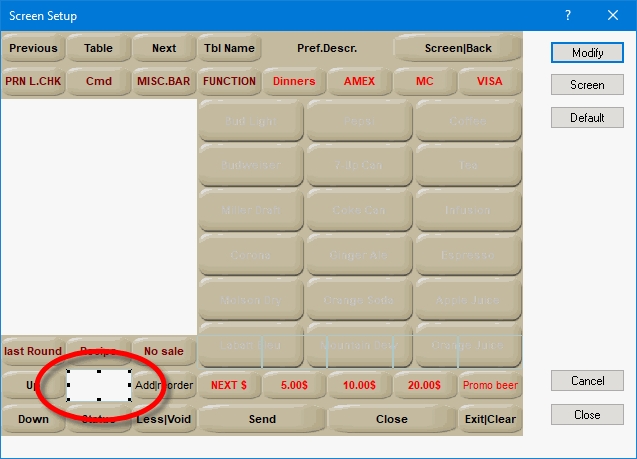
,Configure the button as follows:
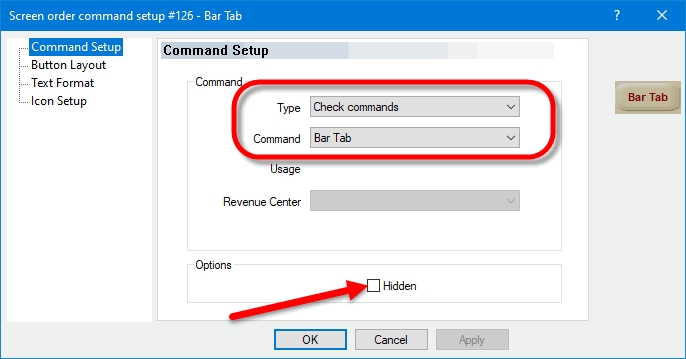
Type
Select Check Commands from the drop-down list.
Command
Select Bar Tab from the drop-down list.
Hidden
Make sure to un-check this option to make the button visible.
Button Layout branch
Configure this section according to your personal preferences or according to the current POS theme.
Text Format branch
Configure this section according to your personal preferences or according to the current POS theme. The text displayed on the button may also be changed, if required.
Icon Setup branch
Configure this section according to your personal preferences or according to the current POS theme.
Click Apply and then OK to save changes and close the button configuration screen.
Close the Screen Layouts list.
Close the Point of Sale Control module.
Last updated
Was this helpful?

