> For the complete documentation index, see [llms.txt](https://docs.maitredpos.com/llms.txt). Markdown versions of documentation pages are available by appending `.md` to page URLs; this page is available as [Markdown](https://docs.maitredpos.com/maitred/maitred-complete-online-documentation/chap-5-configuring-and-managing-work/installation-of-a-pos.md).
# Installation of a POS
Before Installing a new POS
Before a Maitre'D POS workstation can be installed, a number of things must be in place:
1. The Maitre'D Back-Office server must be running and connected to the network.
2. Make sure that the POS hardware meets the minimum requirement for your application. See [Hardware Requirements](https://documentation.payfacto.com/POS/MaitreD/Fulldoc/Requirements/HardwareRequirements.htm).
3. Make sure the POS runs a supported operating system. See [Operating System Requirements](https://documentation.payfacto.com/POS/MaitreD/Fulldoc/Requirements/OperatingSystemRequirements.htm).
4. Just like the Maitre'D Back-Office PC, make sure to update the operating system and use all of its security features. See [Before Installing Maitre'D](https://documentation.payfacto.com/POS/MaitreD/Fulldoc/Chap02_MaitreD_Install/BeforeInstallingMaitreD.htm).
5. Connect the POS to the network and make sure it can communicate with the Maitre'D Back-Office PC and use its shared folder. See [Configure your Windows Network Profile](https://documentation.payfacto.com/POS/MaitreD/Fulldoc/Chap02_MaitreD_Install/ConfigureWindowsNetworkProfile.htm).
Please review the items above and resolve any issue before attempting to install the Maitre'D POS software on your new POS hardware.
With this out of the way, proceed to the next topics.
Configure your Windows Network Profile
The Network Profile feature was introduced with Windows Vista and was carried over to later versions of Microsoft Windows. In Windows 10, the default Network Profile settings will prevent Maitre'D from working correctly by disabling File & Printer sharing and forcing Password Protected Sharing. This topic explains how to configure these settings to allow Maitre'D to operate normally.
Change Network Profile from "Public" to "Private" or "Domain"
By default, on a new Windows 10 installation, your Network Profile will be set to "Public". This is the most secure setting, and is intended for use on public networks, such as public WiFi provided at airports, coffee shops, etc. This setting will "hide" the PC from other devices on the network, which will cause issues with Maitre'D. This profile also hides settings that need to be enabled for Maitre'D to work correctly. This needs to be changed to either Private or Domain.
#### Procedure
1. In the Windows Notification area, click on the Network Connection icon, then click on the network connection you wish to configure. (there could be more than one.)
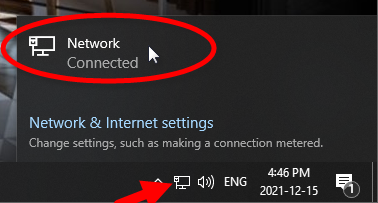
2. This will bring up basic settings. Click on the Network connection (again).
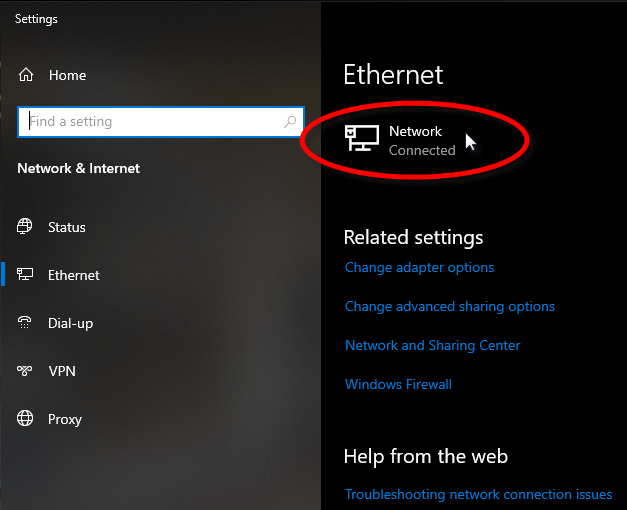
3. The Network profile options will be displayed. Select either Private or Domain.
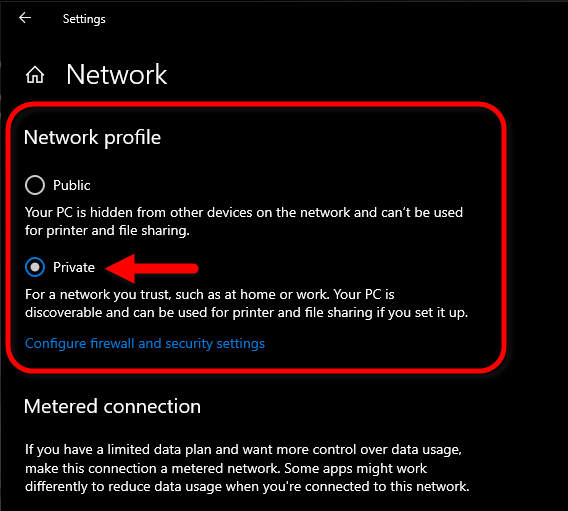
#### Domain or Private Network Profile, which one to select?
If your Maitre'D Main Back-Office PC is part of an Active Directory Domain, your Network Profile needs to be set to "Domain". If the PC is not on a domain, this option will not be available, therefore your Network Profile needs to be set to "Private".
If you believe that the PC should be using the Domain Network Profile but this option is not available, please ask your network administrator for advice.
Change Network Profile Options
Once the profile is set to either Private or Domain, some additional options need to be changed:
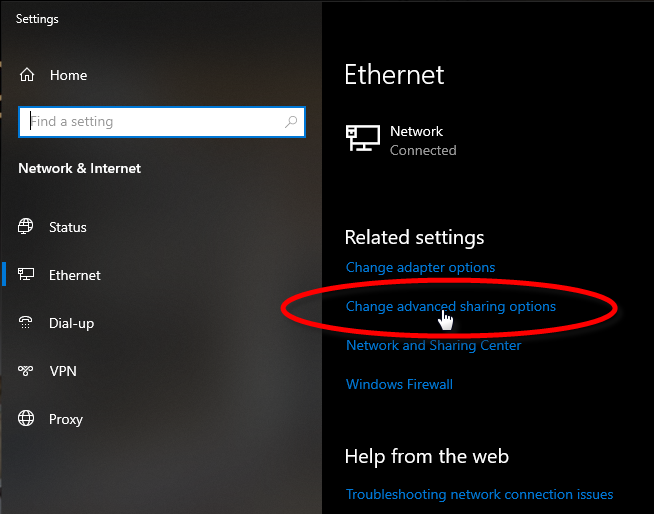
1. Just like before, in the Windows Notification area, click on the Network Connection icon, then click on the network connection you wish to configure. (there could be more than one.)

2. This will bring up basic settings. This time, click Change advanced sharing options.
3. Under the Private (or domain) profile, make sure that:
1. Turn on network discovery is selected.
2. Turn on file and printer sharing is selected.
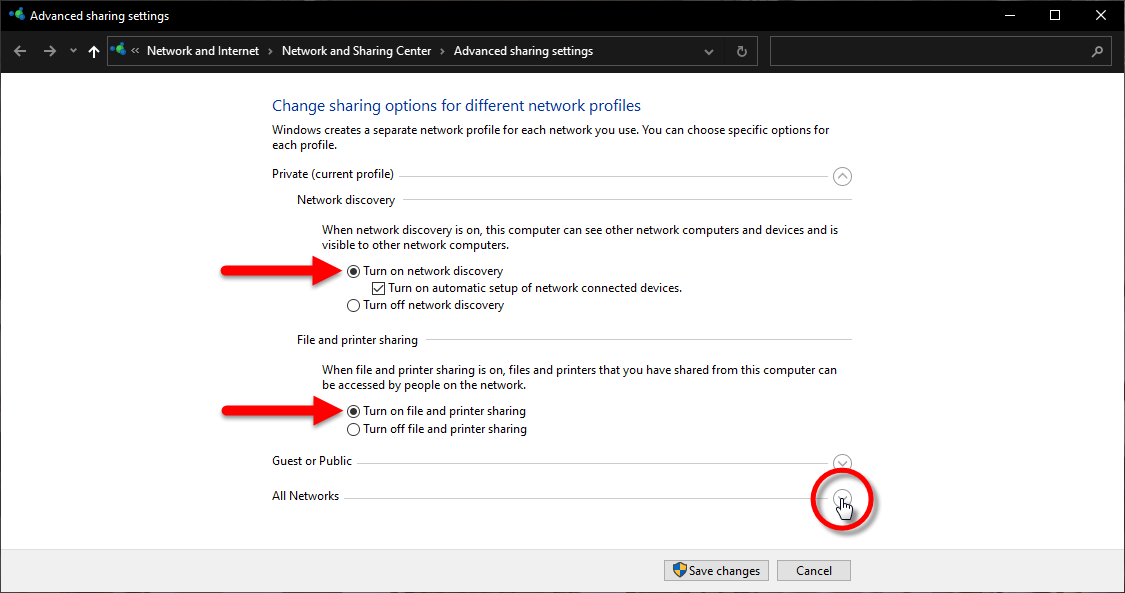
4. Click on the down-arrow next to All Networks. This will display more options.
5. Scroll down to the Password Protected Sharing section and select Turn off password protected sharing.
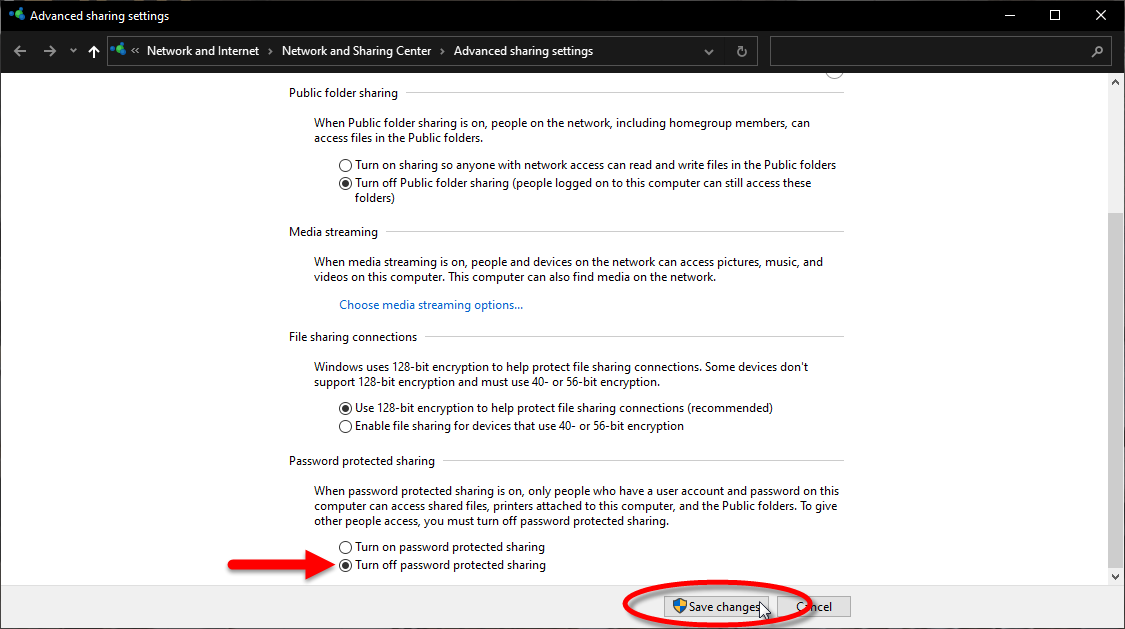
6. Click Save changes.
This configuration needs to be done on the Main Back-Office PC, all Auxiliary Back-Office and Backup Server PCs, as well as on all POS workstations.
Test Connectivity
The connectivity between the Main Maitre'D Back-Office PC and other components of the Maitre'D network can easily be tested. For the example below, we are testing connectivity to a PC named "MAIN-BACK-OFFICE".
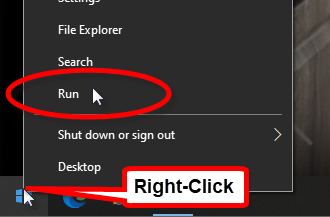
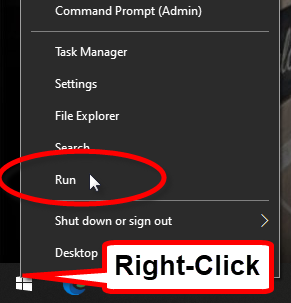
1. From any PC or POS on the Maitre'D network, right-click the Windows Start button and select Run...
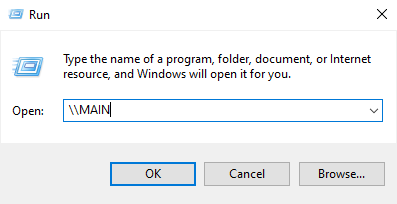
2. In the Run... box, type two back-slashes (\\\\) followed by the name of the PC you want to connect to. For example:
\\\MAIN-BACK-OFFICE
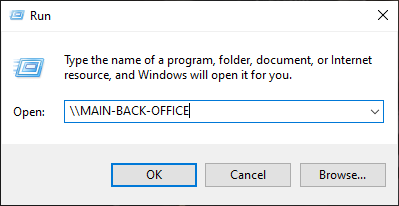
3. Click OK.
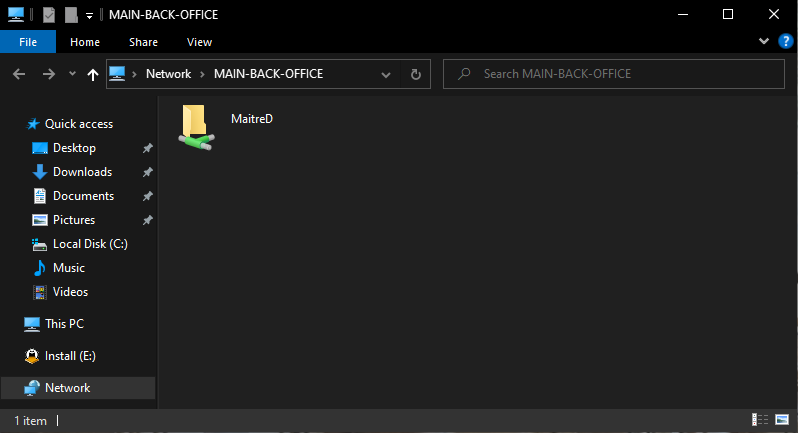
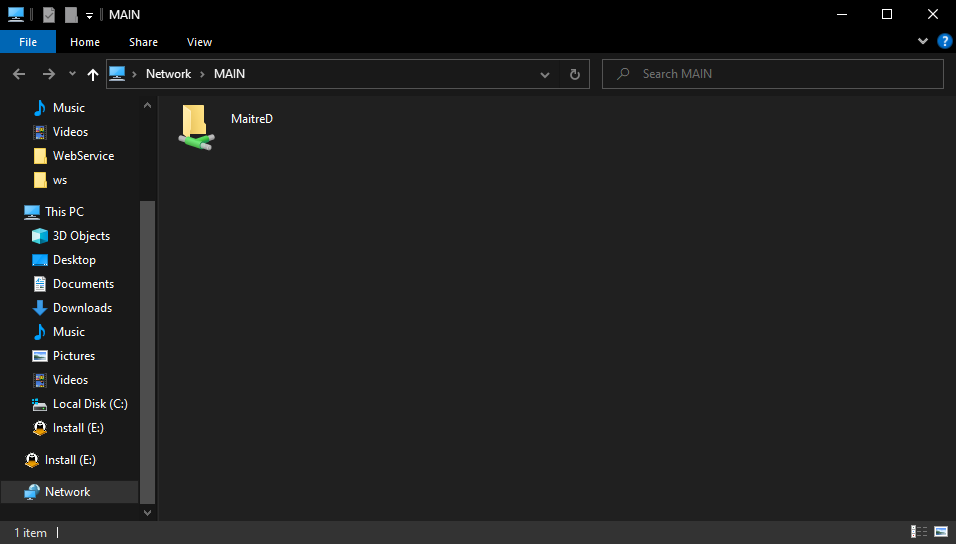
a. If the Maitre'D Back-Office is already installed, you will see the MaitreD shared folder on the PC named MAIN-BACK-OFFICE.
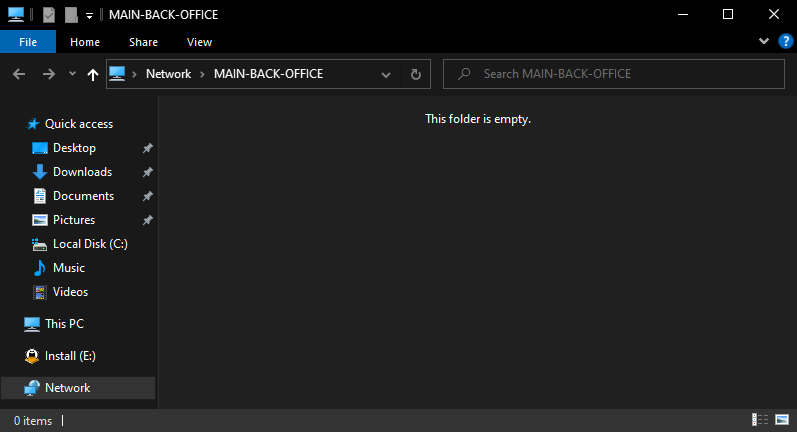
b. f the Maitre'D Back-Office is not yet installed, you will see an empty folder on the PC named MAIN-BACK-OFFICE.
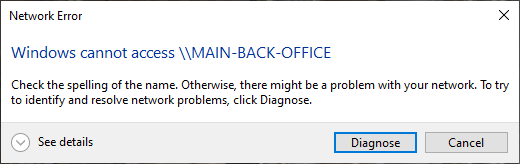
c. If the network settings are not configured properly, you will see an error message.
The network settings now allow communication between all the components of the Maitre'D Network.
POS Installation Procedure
1. Start the POS workstation and logon to Windows with a user account with administrative privileges.
2. At the Windows desktop, right-click the start button and select the Run option.
3. In the Run dialog box, type two back-slashes ( \\\ ) followed by the host name of the PC where the Maitre'D Back-Office is installed, then click OK.
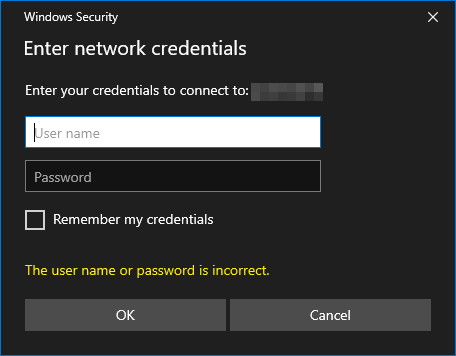
4. You may be asked to enter your credentials. Do so, and be sure to activate the Remember my credentials checkbox.
5. If your network is configured correctly, you will see the MaitreD shared folder through the network.
IMPORTANT! If you can't see the MaitreD shared folder through the network or if you are getting error messages, there is most likely something wrong with your network settings. Please review the Maitre'D Back-Office installation procedures and, more specifically, how to [Configure your Windows Network profile](https://documentation.payfacto.com/POS/MaitreD/Fulldoc/Chap02_MaitreD_Install/ConfigureWindowsNetworkProfile.htm).
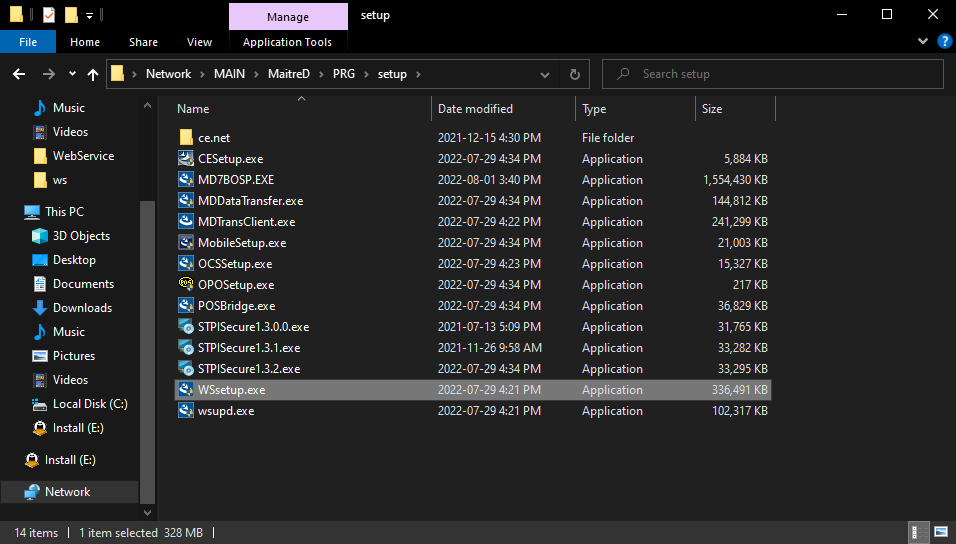
6. Browse to the MaitreD\PRG\Setup folder, and double-click the WSsetup.exe installer to start the POS installation.
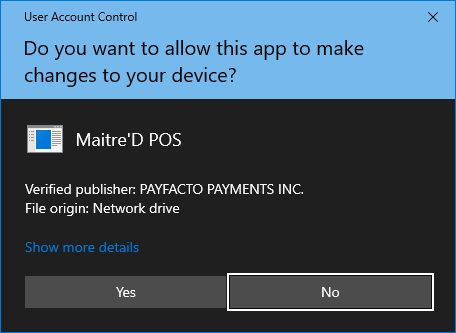
7. You will see a UAC warning. Click Yes to proceed.
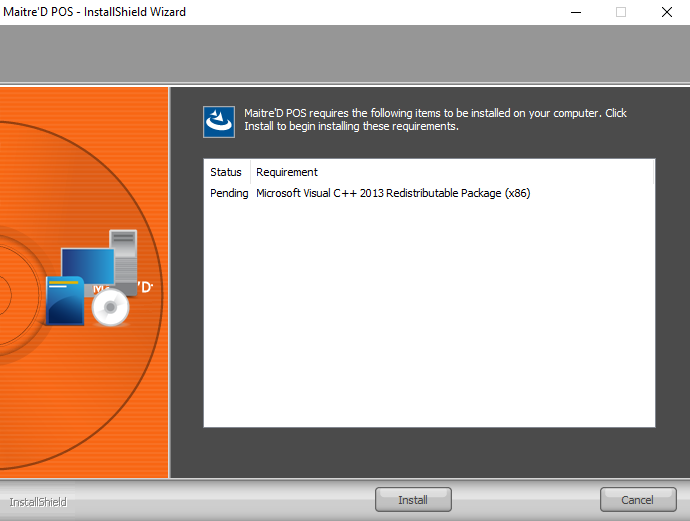
8. The InstallShield wizard will start by installing required redistributable packages. Click the Install button.
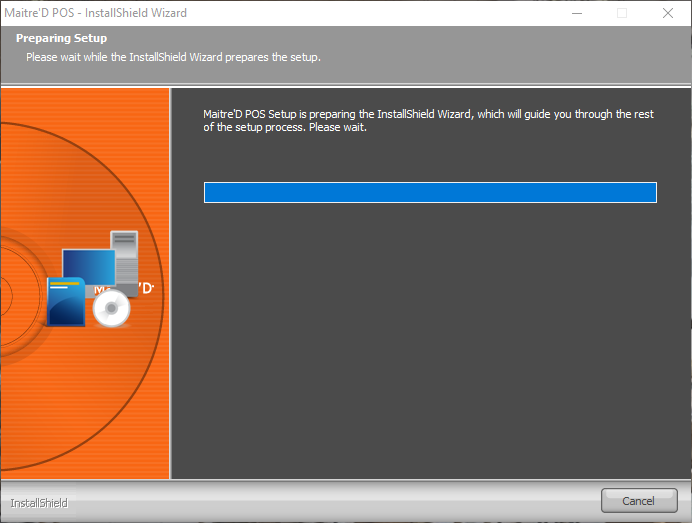
9. Once the redistributables are installed, the Maitre'D POS InstallShield Wizard will start proper.
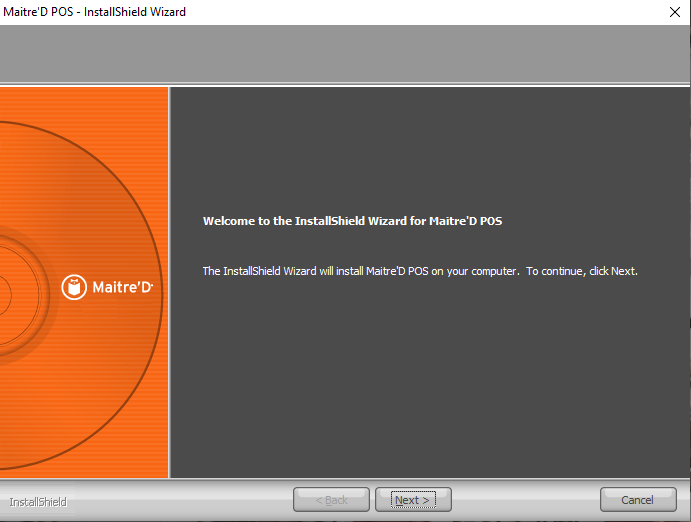
10. The Welcome screen will appear. Click Next >.
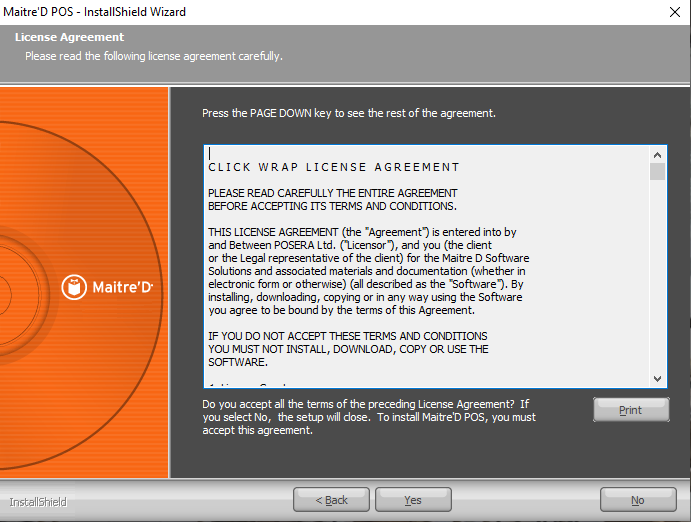
11. The Maitre'D POS End-User License Agreement (EULA) will be displayed. Please take time to read and understand the terms of the license agreement and click Yes to accept the terms.
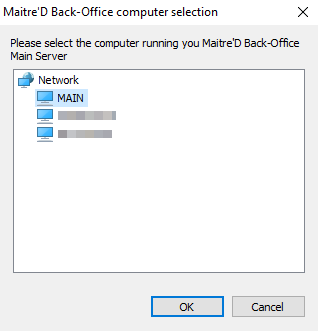
12. Your network will be analyzed and the list of available computers will be displayed. From the list, select the computer which is currently running the Maitre'D Back-Office and click OK.
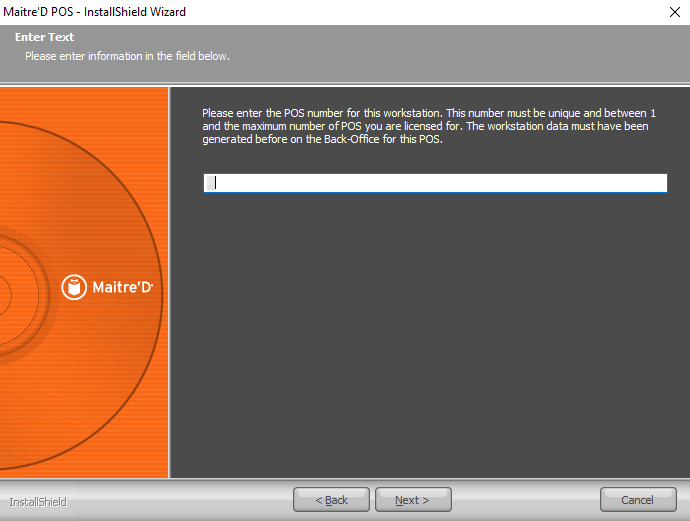
13. Type the workstation number for this POS and click Next >. Valid numbers are from 1 to the number of POS workstations you Maitre'D license has. For instance, if you purchased a license with 5 POS workstations, valid POS numbers will be from 1 to 5.
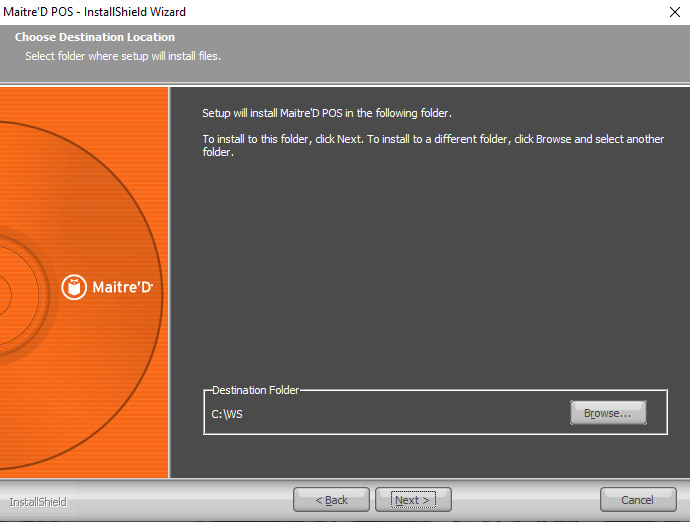
14. Confirm the installation path for the POS and click Next >. The default path is C:\WS.
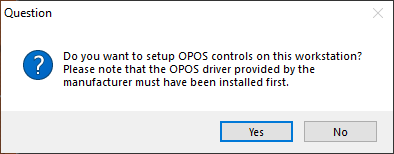
15. You will be prompted whether to setup the OPOS Controls for this workstation. If OPOS devices are attached to this POS, click Yes. Otherwise, click No. Note that it is always possible to manually run the OPOS setup (OPOSetup.exe) utility later, from the C:\WS folder.
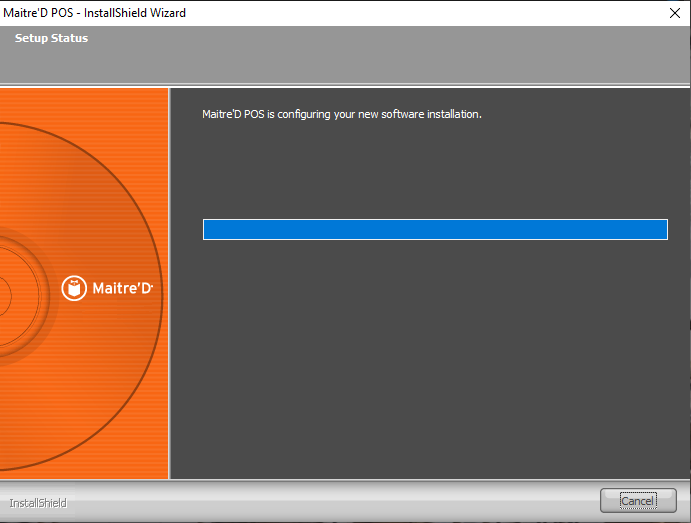
16. Files will be installed. This part of the process is automated.
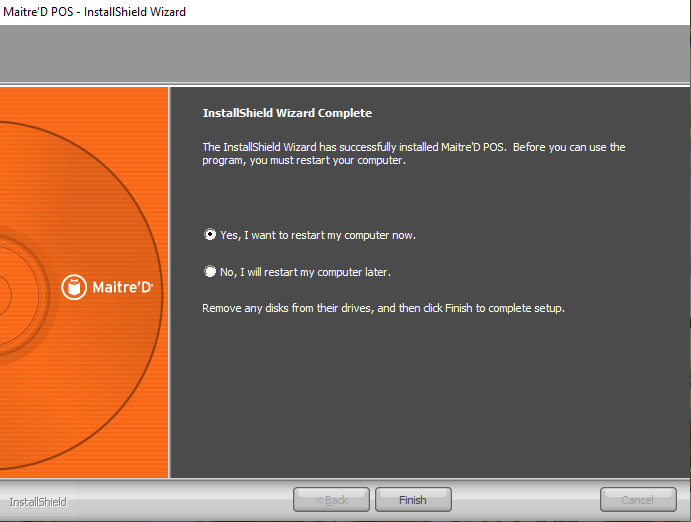
17. You will be prompted to restart the PC. Select Yes, I want to restart my computer now and click the Finish button.
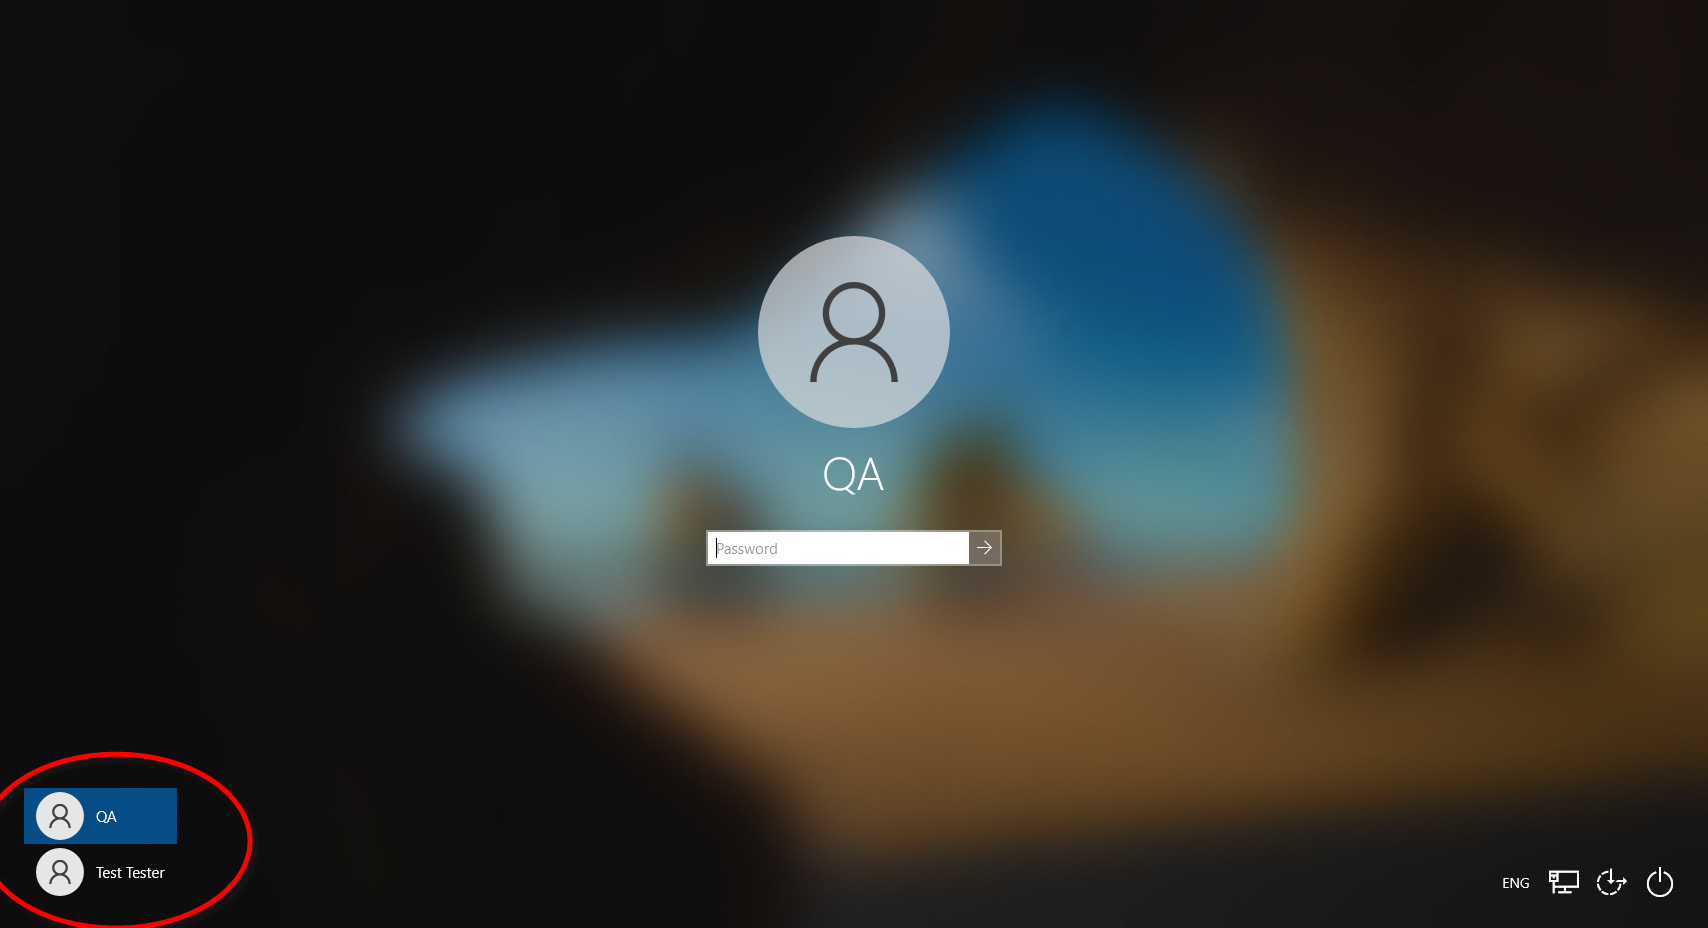
18. The POS will restart. Once the POS finishes restarting, logon with the same Windows account used to install the POS software.

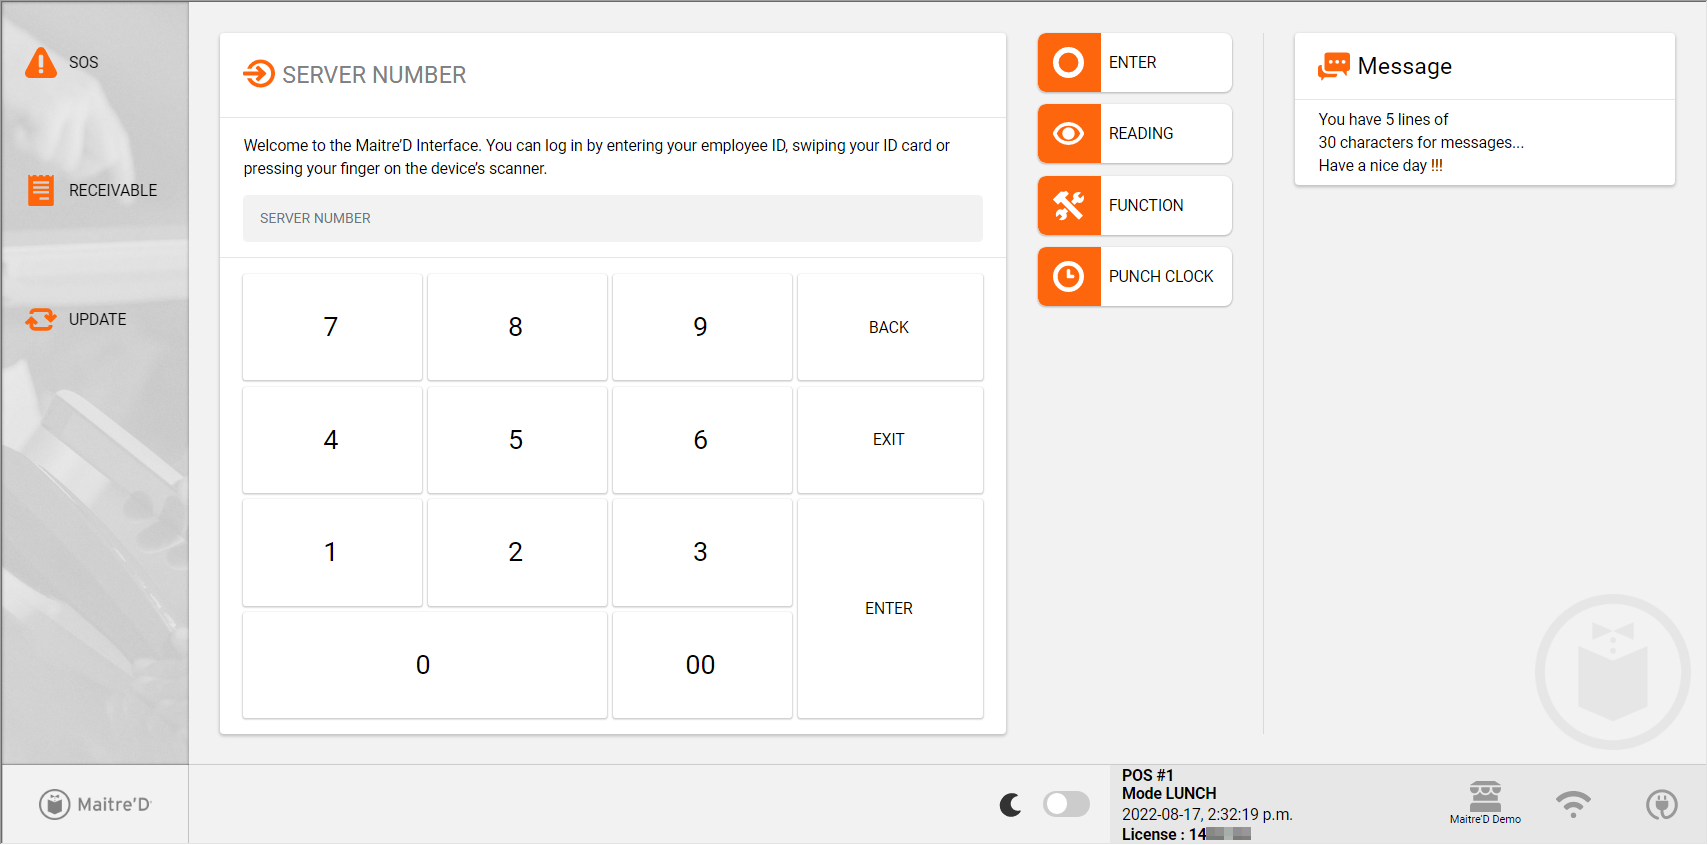
19. The POS software should start by itself. On the first start, the POS could take longer to start as it downloads files from the Maitre'D Back-Office server. Eventually, the POS home screen will be displayed.
The Maitre'D POS software is now installed and functional.
Windows Automatic Logon
While it is possible to configure Windows to logon automatically using a specified user, it is not recommended to do so. Since Windows 10 version 2004 (released in December 2019), Microsoft has taken active steps to hide the features that make automatic logon possible, making the use of this feature increasingly complex.
As a result, enabling automatic logon features now require a combination of Windows registry editing as well as tweaks in the Group Policy Objects (GPO). Incorrect manipulation of the Windows Registry and GPOs may cause damage to the operating system and cause loss of data.
#### Please read the following warning from Microsoft:
IMPORTANT! The autologon feature is provided as a convenience. However, this feature may be a security risk. If you set a computer for autologon, anyone who can physically obtain access to the computer can gain access to all the computer's contents, including any networks it is connected to. Additionally, when autologon is turned on, the password is stored in the registry in plain text. The specific registry key that stores this value can be remotely read by the Authenticated Users group. This setting is recommended only for cases in which the computer is physically secured and steps have been taken to make sure that untrusted users cannot remotely access the registry.
Source:
For these reasons, PayFacto does not provide direct instructions on how to setup automatic logon. If you wish to use this feature despite these warnings, you must do so at your own risk and through your own research.
#### Disclaimer
PayFacto considers any form of automatic logon as a liability and a major security risk. The use of automatic logon can compromise the data stored on the affected computer as well as the data stored on other computers connected to the same network. Every reasonable step must be taken to ensure the security of your data, which includes using unique usernames with strong passwords. Bypassing this basic security requirement by using automatic logon is against PayFacto's data security policy, and PayFacto will decline any responsibility for any data breach or data loss in a system using any form of automatic logon.
POS Automatic Startup
### Windows Startup Apps
Once a user logs on with a valid Windows user name and password, the Maitre'D POS application should start automatically. This happens because the POS application's shortcut is copied to the Windows "Startup" folder during the installation process.
Users may want to disable this automatic startup behaviour to use the PC for other purposes or for troubleshooting. The following instructions will show how to disable and re-enable automatic startup for the Maitre'D POS application.
Disable Automatic Startup of the Maitre'D POS application
#### Method 1: From the Windows Task Manager
Use this method to quickly disable automatic startup of the Maitre'D POS application, with the possibility of quickly re-enabling automatic startup as needed.
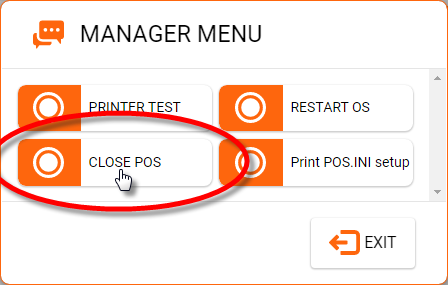
1. If the POS application is currently running, close it. If you have a keyboard connected, simply press ALT + F4 and the POS application will close. Otherwise, use a manager employee number to access the manager's menu and close the POS. (FUNCTION > Manager Menu > System Functions > Close POS).
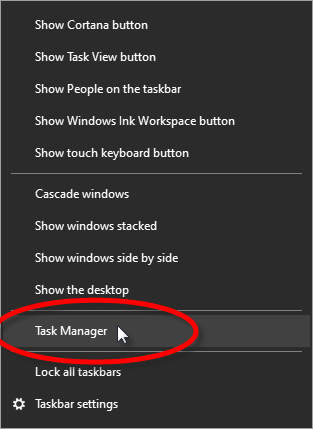
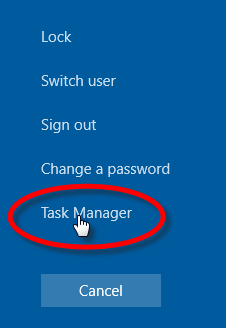
2. Invoke the Task manager, either by right-clicking the task bar and selecting the Task Manager option, or by pressing CTRL + ALT + DEL on your keyboard and selecting the Task Manager option.
3. On the Task Manager window, click the Startup tab. The applications that start when Windows starts will be listed here. Select Maitre'D Suite from the list, and click the Disable button, in the lower-right corner.
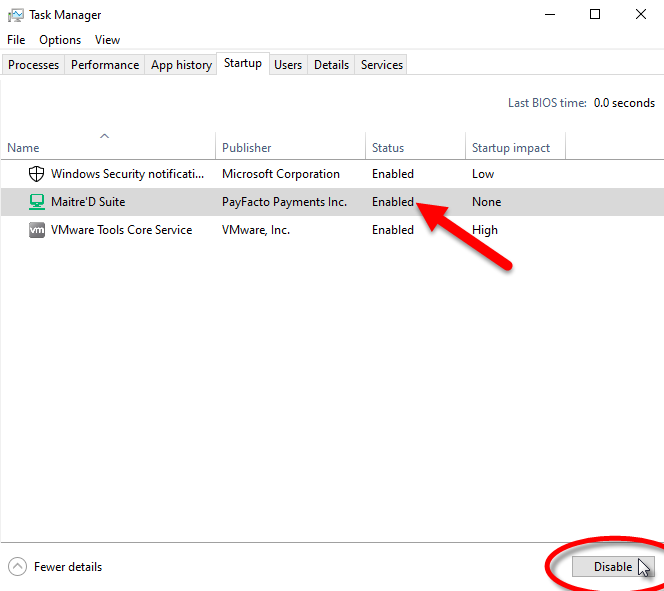
4. The status of the application will change to Disabled.

5. Close the task manager. If you restart the computer at this point, the Maitre'D POS application will no longer start automatically.
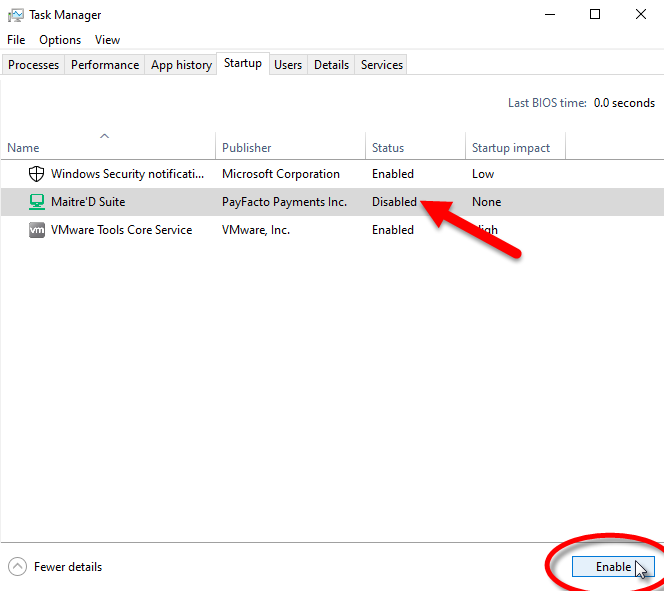
6. To re-enable automatic startup, simply follow the same steps. This time, when you select the Maitre'D Suite option, the button in the lower-right corner will say "Enable". Click it and the status will change back to Enabled.
#### Method 2: From the Windows Start menu folder
Use this method to permanently disable automatic startup. It is possible to re-enable automatic startup after this, but a bit more work will be required.
1. If the POS application is currently running, close it. If you have a keyboard connected, simply press ALT + F4 and the POS application will close. Otherwise, use a manager employee number to access the manager's menu and close the POS. (FUNCTION > Manager Menu > System Functions > Close POS).

2. Using Windows File Explorer, browse to C:\ProgramData\Microsoft\Windows\Start Menu\Programs\Startup\\. Note that you need to be able to see hidden files and folders.
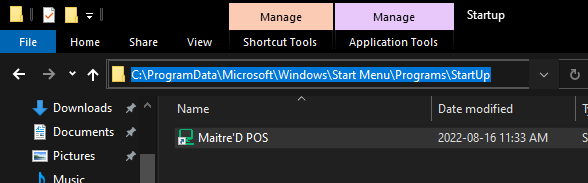
3. Locate the Maitre'D POS shortcut and delete it.
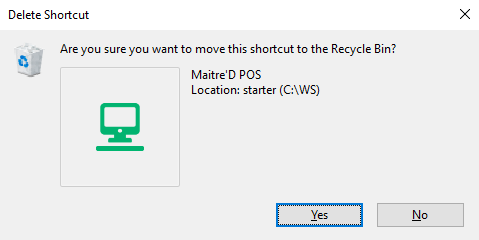
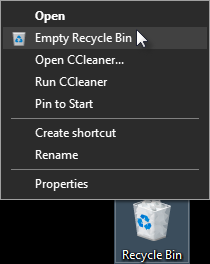
4. Empty the recycle bin.
5. If you restart the computer at this point, the Maitre'D POS application will not start automatically after you logon to Windows.
#### Re-enable automatic startup after deleting the shortcut from startup
If you wish to re-enable automatic startup but the shortcut was deleted, here is how to re-create it:
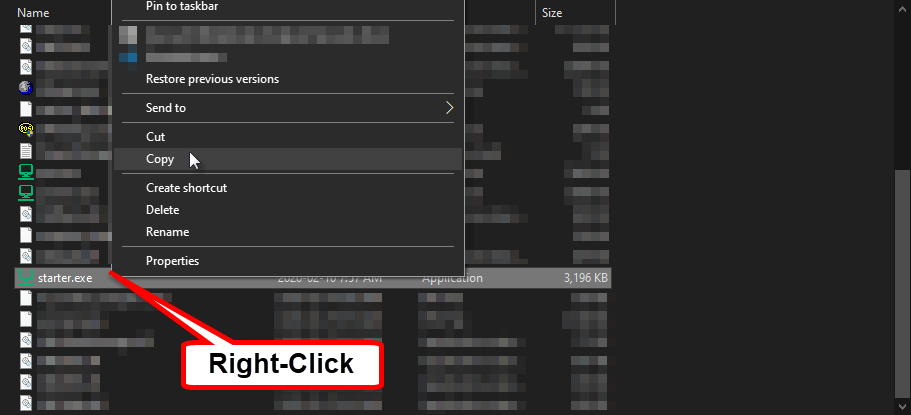
1. Using Windows File Explorer, browse to C:\WS.
2. Locate the file called Starter.exe. Right-click the file and select the Copy option.
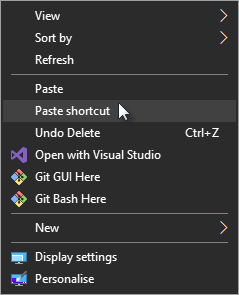
3. Right-click an empty space on the Windows desktop and select the Paste Shortcut option.
4. This will create a shortcut called "Starter.exe - Shortcut". Rename it to Maitre'D POS.
 
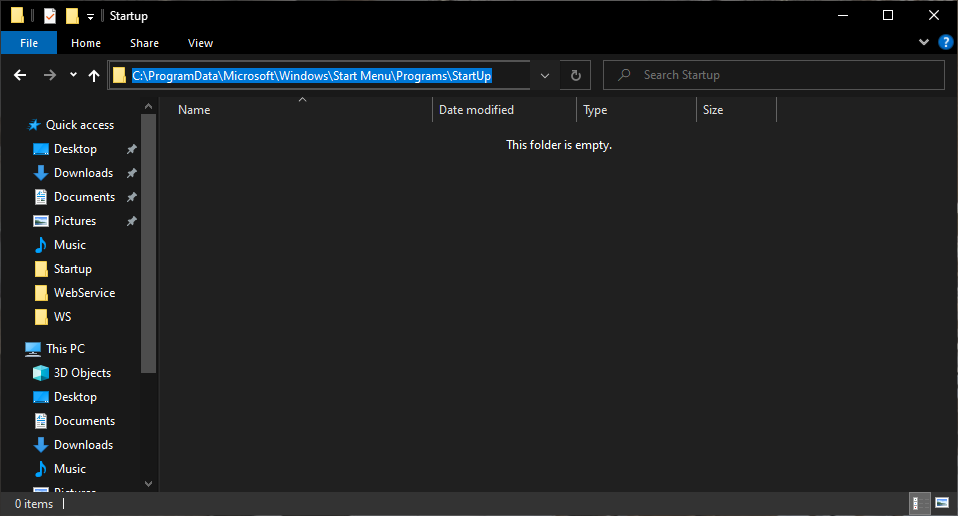
5. Using Windows File Explorer, browse to C:\ProgramData\Microsoft\Windows\Start Menu\Programs\Startup\\. Note that you need to be able to see hidden files and folders.
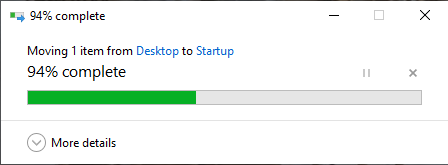
6. Drag-and-Drop the Maitre'D POS shortcut from the desktop to the Startup folder.
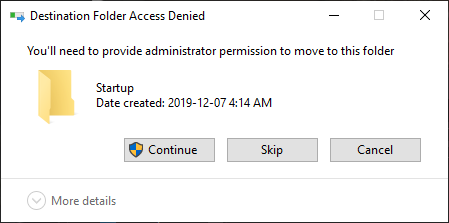
7. You will see a dialog box explaining that you need administrator privileges to perform this operation. Click *Continue* and the shortcut will be copied.
8. If you restart the computer at this point, the Maitre'D POS application will start automatically after you logon to Windows.
[back to top](#before-installing-a-new-pos)
---
# Agent Instructions
This documentation is published with GitBook. GitBook is the documentation platform designed so that both humans and AI agents can read, navigate, and reason over technical content effectively. Learn more at gitbook.com.
## Querying This Documentation
If you need additional information that is not directly available in this page, you can query the documentation dynamically by asking a question.
Perform an HTTP GET request on the current page URL with the `ask` query parameter, and the optional `goal` query parameter:
```
GET https://docs.maitredpos.com/maitred/maitred-complete-online-documentation/chap-5-configuring-and-managing-work/installation-of-a-pos.md?ask=&goal=
```
`ask` is the immediate question: it should be specific, self-contained, and written in natural language.
`goal` is optional and describes the broader end goal you are ultimately trying to accomplish on behalf of the user. GitBook uses it to tailor the answer towards what is most useful for that goal.
The response will contain a direct answer to the question and relevant excerpts and sources from the documentation.
Use this mechanism when the answer is not explicitly present in the current page, you need clarification or additional context, or you want to retrieve related documentation sections.


