5.1.3 - Logical Printers
Introduction
Logical printers are conceptual printers used to direct orders to physical printers based on certain criteria such as revenue centers.
The advantage of setting up logical printers is that it is very easy to redirect an order to a new physical printer by just pointing the logical printer to the new physical printer instead of reconfiguring each revenue center and mode.
Another advantage is when a guest orders items from different revenue centers. Even though the order prints at the same printer, separate requisition coupons are printed. This allows each coupon to be given to the appropriate section such as the grill or the bar.
Up to 30 logical printers can be configured in a Maitre'D Database.
Setup logical printers
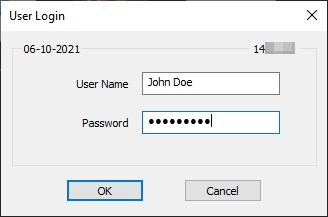
Logon to the Maitre’D Back-Office with appropriate credentials. (Distributor or System Owner)

Start the Point of Sale Control module.
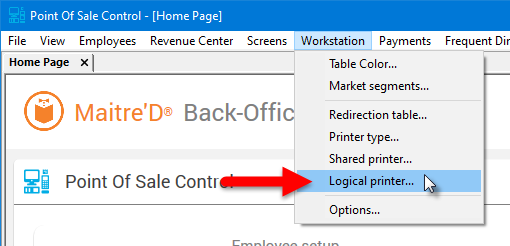
Click on the Workstation menu and select the Logical Printer... option.

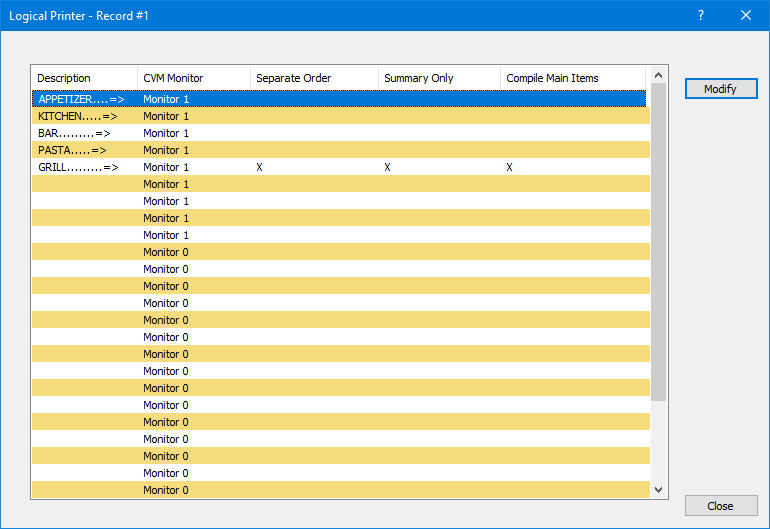
The list of logical printers will be displayed. The spreadsheet layout provides a preview of the configuration of each logical printer.

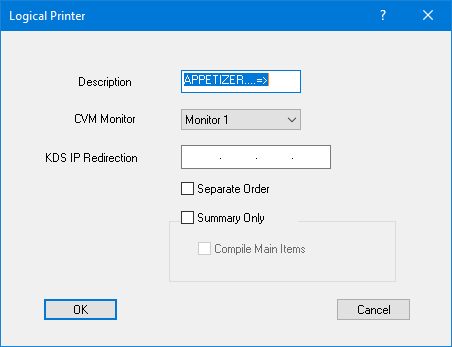
To change the settings of a logical printer, select an entry from the list and click the Modify button. The detailed properties of the selected logical printer will be displayed.

Description
Type a meaningful description for the logical printer. For example, if the printer is used at the appetizer prep station, it may be called "Appetizers"
CVM Monitor
From the drop-down list, select the monitor to use to display items sent to this logical printer. This setting will have an effect only if kitchen monitors are in use.
KDS IP Redirection
Type the IP address of the KDS monitor to use. See KDS documentation for more information on how to use this setting.
Separate Order
If you enable this option, that logical printer will print a separate coupon for each sales item.
Summary Only
Enable this option to override any compilation option and remove any customer information. With this option, all ordered items will appear in a simple list, without compilation and without customer information. The star character ( * ) that normally prints to indicate a change of plate is also not printed.
NOTE: This option overrides the Compilation and Compilation By Customer options from Point of Sale Control > Revenue Center > Options > Kitchen.
Compile Main Items
Enable this option to further simplify the kitchen printout. With this option enabled, all modifiers will be removed from the printout and the identical main items will be compiled.
NOTE: This option becomes available only if the Summary Only option is also enabled.
Click OK to save changes and return to the logical printers list.
Once all the necessary logical printers are created, you can assign logical printers to each sales item. This is accomplished from Point of Sale Control > Revenue Center > Items Setup... > [Select an item] > Configuration > [Select a configuration] > Printing. Up to 9 printouts can be assigned to each sales item.
The newly created logical printers will also become available in the Printers section of the Workstation options (Point of Sales Control > Workstation > Options... > [Select workstation] > Printers) as well as for redirection tables (Point of Sales Control > Workstation > Redirection Table...).
Last updated
Was this helpful?

