Installation Process for the Maitre'D Back-Office
Last updated
Was this helpful?
Last updated
Was this helpful?
Start the installation process using one of the following methods:
Before performing the actual installation, the InstallShield Wizard will analyze your system. If required software components are missing, these will be installed at this point. Click the Install button to proceed.
NOTE: The PC may need to be restarted after components are installed. Following a computer restart, you will need to start the installation process again.
A splash Screen will be briefly displayed.
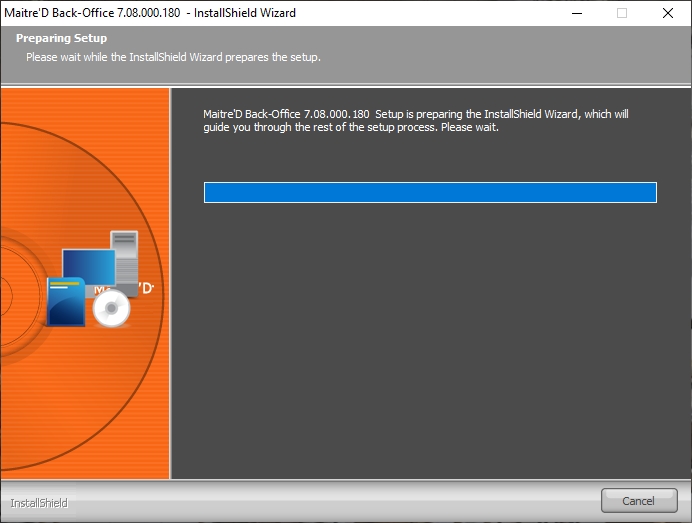
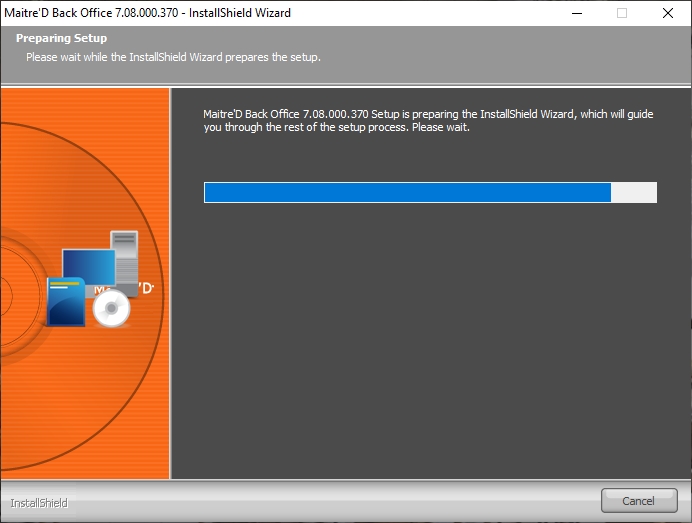
The InstallShield Wizard will prepare the installation. This could take a few seconds.
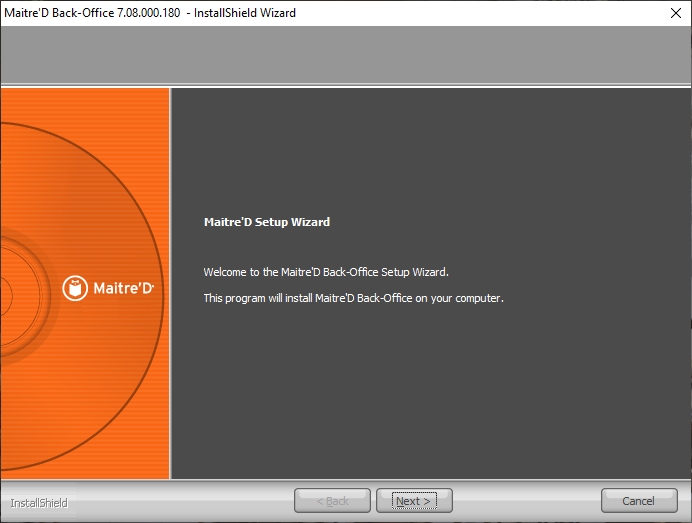
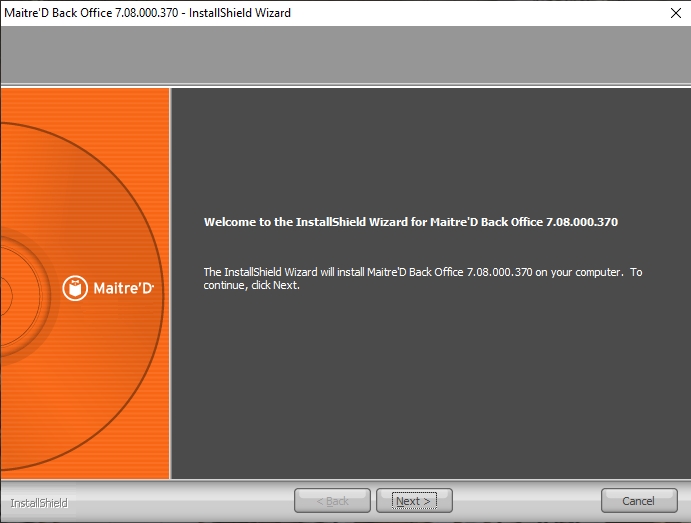
The welcome screen appears. Click Next > to continue the installation.
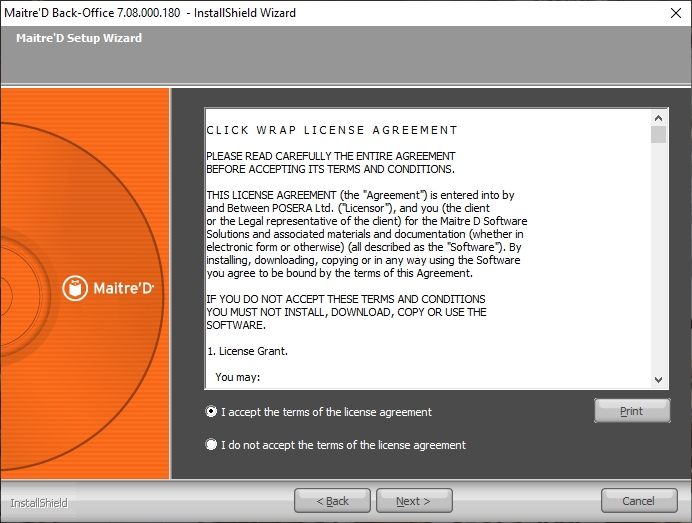
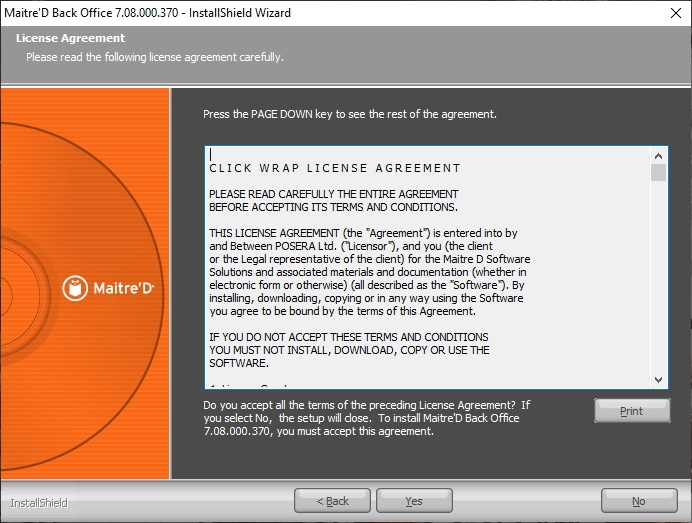
Read the license agreement and select I accept the terms of the license agreement. Click Next > to continue.
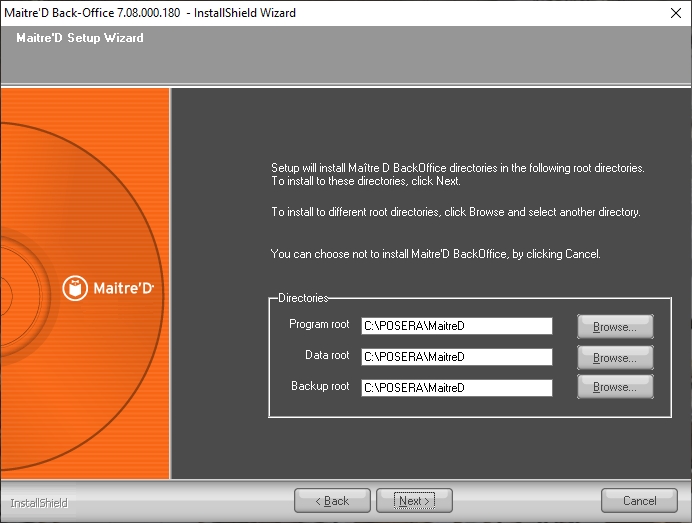
Select the Maitre’D installation folders and click Next > to continue.
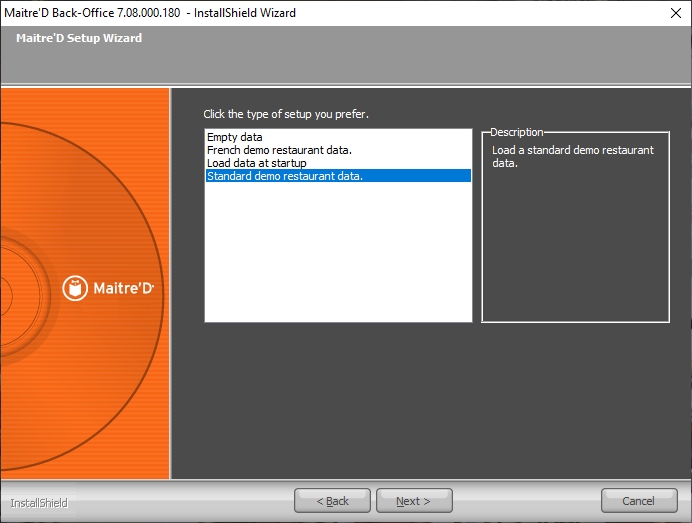
Select the type of installation and click Next > to continue. The available types are described below.
Select this option to install Maitre’D with an empty database. It will need to be fully programmed before use.
Select this option to install a generic restaurant data for demonstration purposes in the French language.
Select this option to restore an existing restaurant data when the software is started for the first time.
Select this option to install a generic restaurant data for demonstration purposes in the English language.
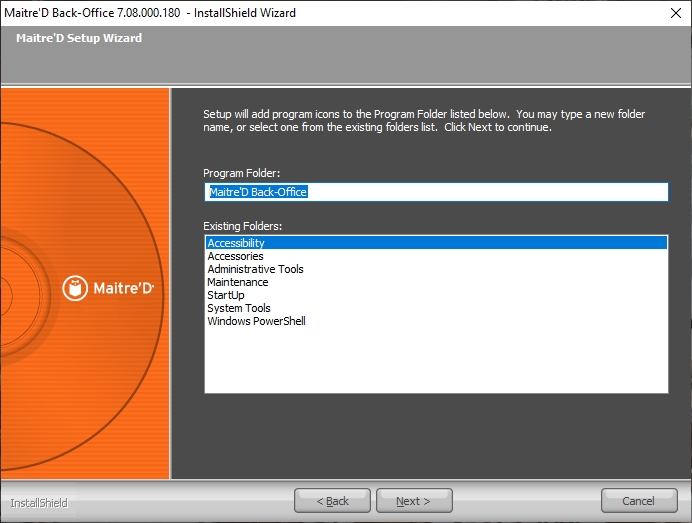
Select the Maitre’D program group that will be created in the Windows Start Menu. Click Next > to continue.
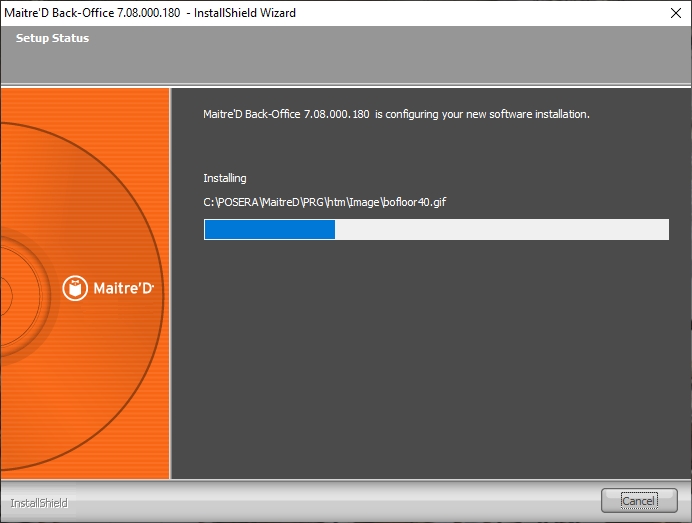
Files will be installed automatically. This could take a few minutes.
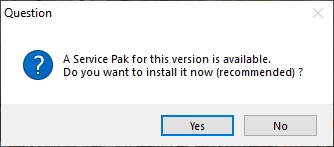
If a service pack is available, installation will start automatically. It is highly recommended to always install the latest service pack available before using the Maitre’D software. Click Yes to begin the installation of the service pack.
IMPORTANT! Installation of the latest service pack available is required to maintain PCI-DSS compliance. Installation of the latest service pack is also required to benefit from the latest feature updates and bug fixes.
a. The InstallShield Wizard will prepare the Service Pack installation. This could take a few seconds.
b. The welcome screen appears. Click Next > to continue the installation.
c. Read the license agreement. Click Yes to agree and continue the installation.
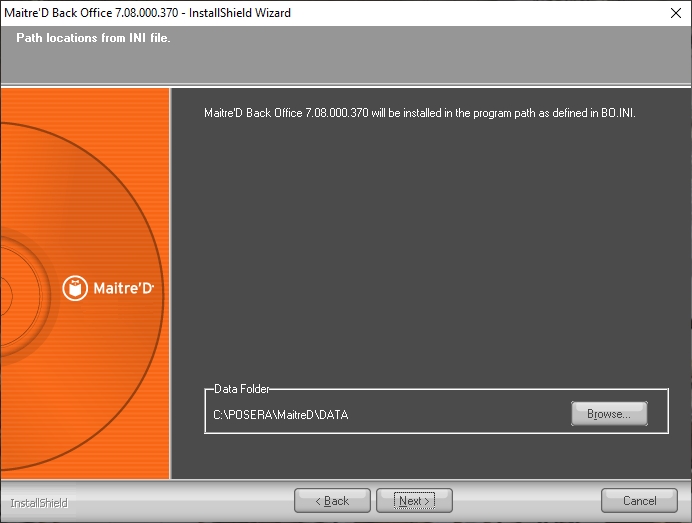
d. Select the path where the BO.INI file can be found. This should not need to be changed, but you can click Browse… to change the folder if required. The service pack files will be installed in the path as defined in the BO.INI file. Click Next > to proceed.
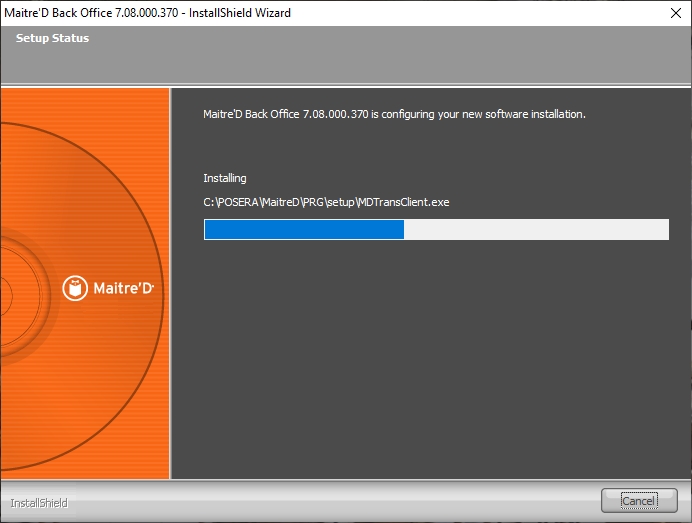
e. Files will be copied. This could take a few minutes.
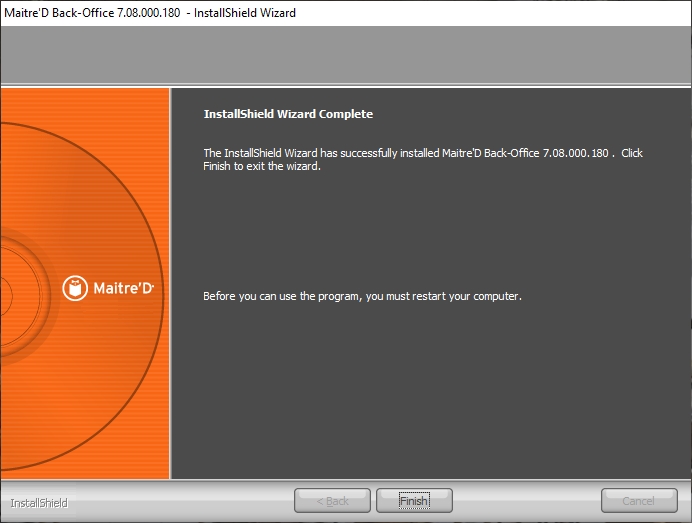
After files are copied, the InstallShield wizard will remind you that the computer needs to be restarted before Maitre'D can be used. Click the Finish button.
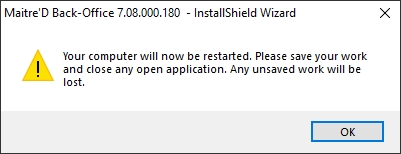
A dialog box will inform you that your computer is about to be restarted. Click OK, and your computer will restart.
WARNING! Do not attempt to override the computer restart. This will damage the Maitre'D files and cause various issues.
After the computer restart, the Maitre'D Back-Office Server will attempt to start.
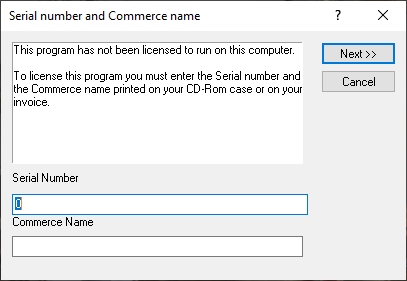
Since there is no license installed, you will be prompted to enter a license serial number and a commerce name.
IMPORTANT! Now that the Maitre'D files are in place, it is strongly suggested to configure the Maitre'D Shared Folder correctly, even before activating the license. Please see Configure the Maitre'D Sharing Options
The installation process is now completed. Please proceed to the Maitre’D license activation.
Related Topics
